Create Campaign
Setting up a campaign in RTL AdManager is simple and intuitive. The process is structured in a step-by-step wizard, allowing you to refine your campaign settings based on the package you’ve selected.
Key Things to Know Before You Start:
✅ The inventory selection is already determined by the package you choose. You don’t need to manually select placements.
✅ The wizard allows further adjustments to refine your targeting, including time scheduling, geo-targeting, smart audience selection, frequency capping, and device targeting.
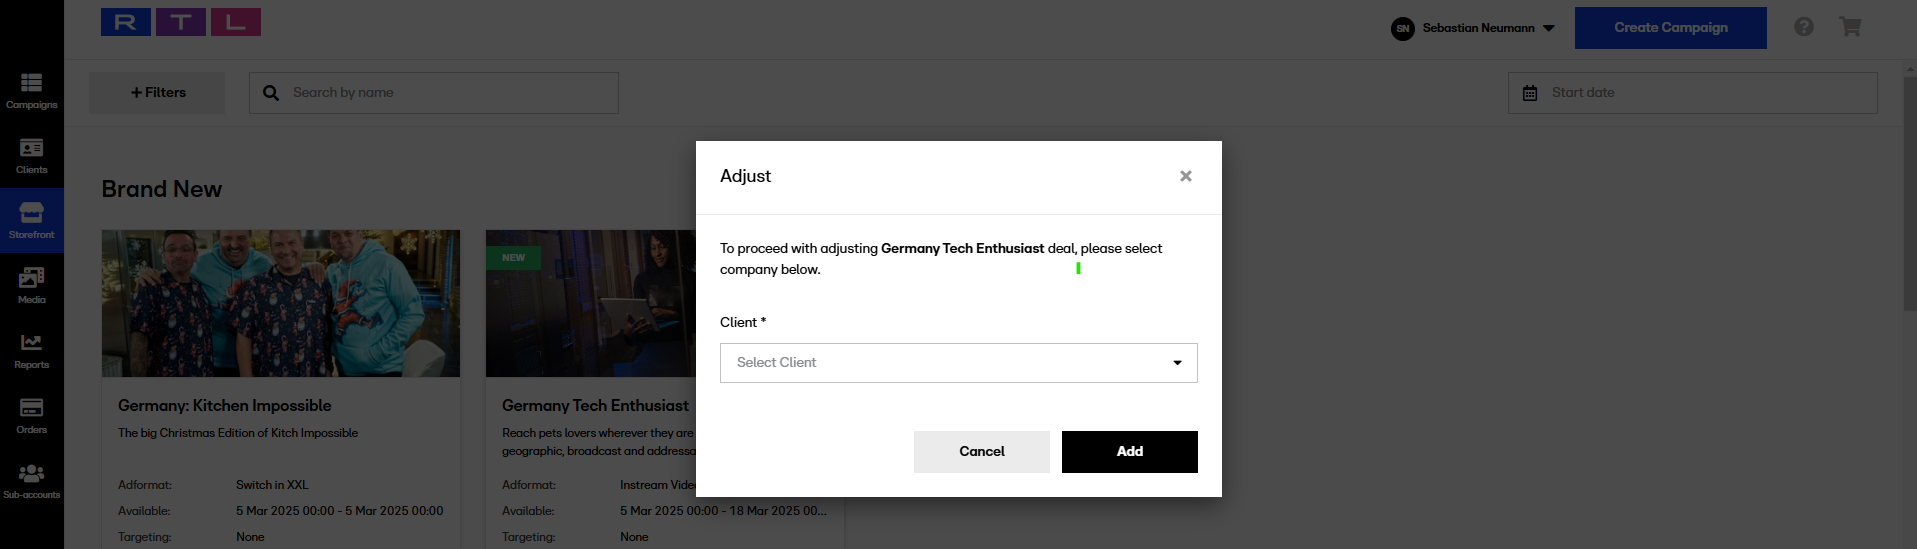
✅ If you are an Agency, you first select a Client. If you are advertising for your own company you will not see this option.
Step-by-Step Campaign Setup
1. Campaign Name
Choose a campaign name that helps you easily identify it. Example: Tech Enthusiast Campaign.
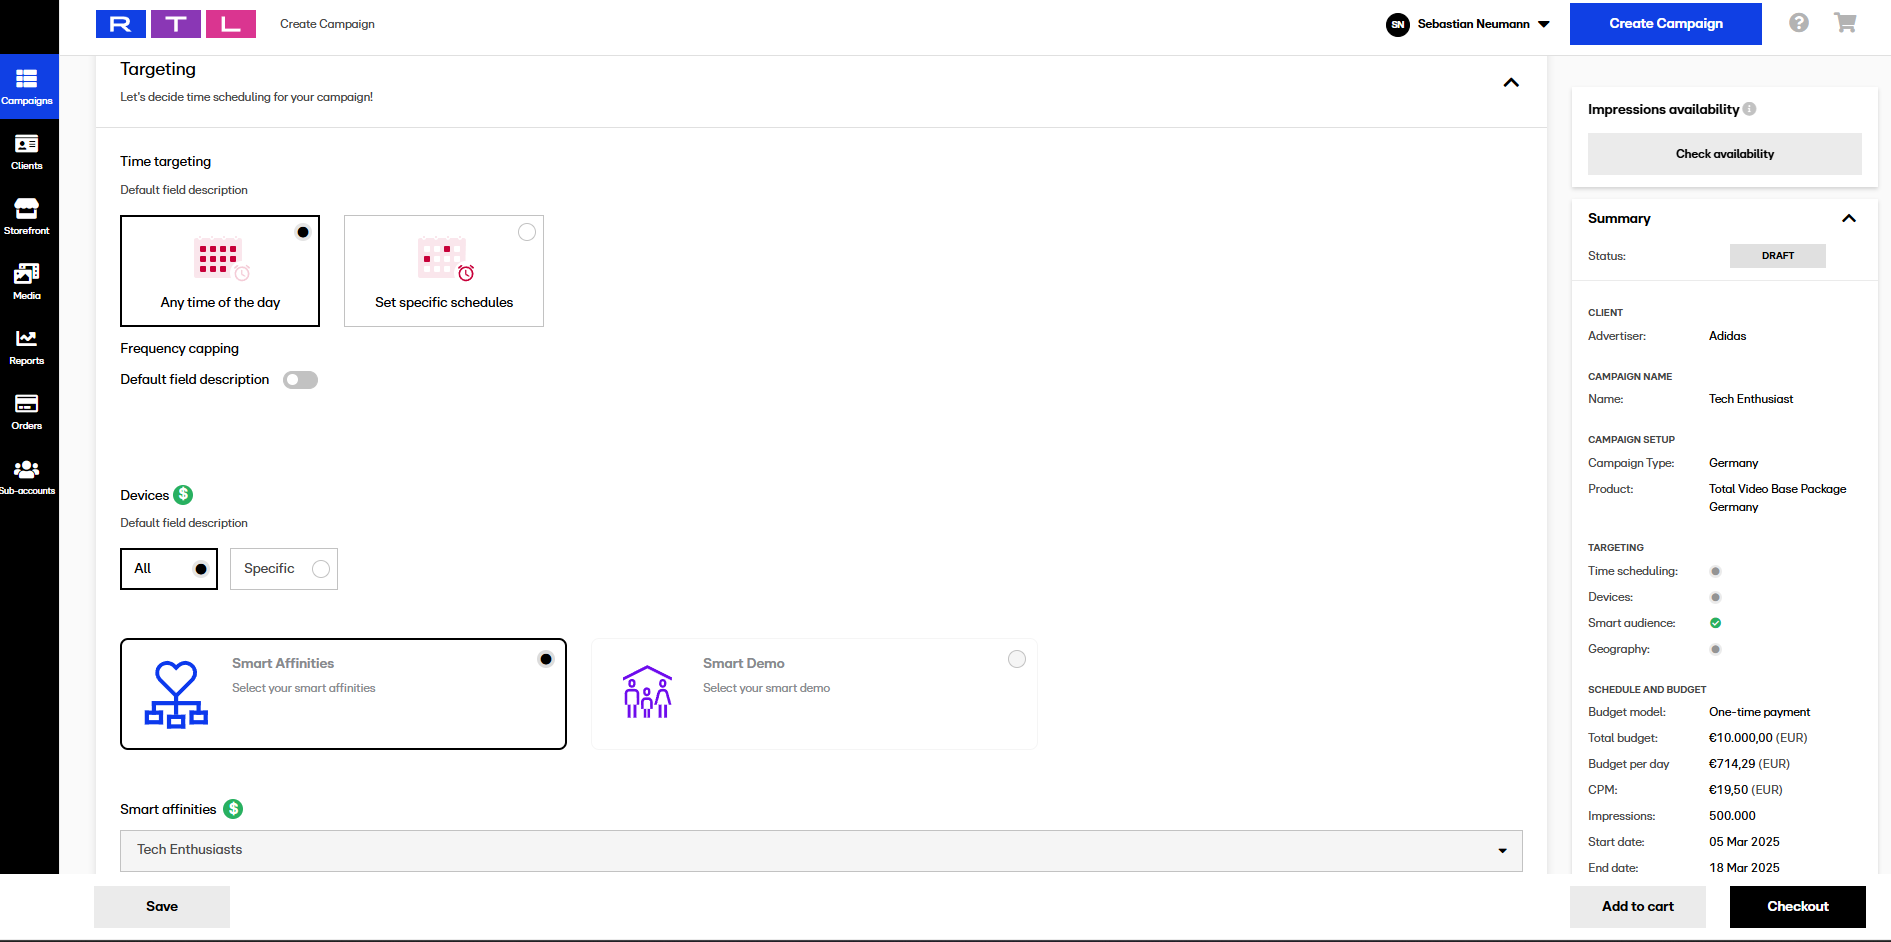
2. Targeting Adjustments (Based on the package you selected)
Time Targeting
Set specific times when your ads should be shown.
Helps optimize ad delivery based on audience behavior.
All time settings are always in UTC
Frequency Capping
Control how often the same user sees your ad.
Prevents overexposure and enhances campaign efficiency.
Device Targeting
Choose which devices your ads should appear on (e.g., mobile, desktop, CTV).
Optimize for the best user experience per device.
Smart Audiences (Audience Targeting)
Add predefined audience segments to refine your targeting. Example: Tech Enthusiasts.
Enhances precision in reaching the right users.
Do you want to learn more about Smart Audiences? Look into our FAQ Section.
Geo-Targeting
Select specific regions, countries, or cities where your ads should appear.
Helps with localized marketing strategies.
3. Schedule & Budget
Set your campaign duration:
Define your total budget
Impressions goal
Budget per day is automatically calculated.
4. Additional Information (Optional)
PO Number: Internal purchase order reference for tracking.
5. Creatives
Upload, create, or edit your ad creatives.
Review Process: May take up to 2 business days, so plan accordingly.
Final Steps
Review all settings before submission.
Launch the campaign or save as a draft for later adjustments.
Campaigns are stored automatically at the Budget and Targeting steps in the wizard.
New Campaigns are stored as DRAFT.
After you have checked out a Campaign, status changes to PENDING.
Once start date is reached and there is at least one approved Creative, status changes to LIVE.
Checkout
Read all about your checkout options here.